How to pack a bike: pack it once, ship it safely
Learn how to pack a bike safely for shipping with this step-by-step guide.

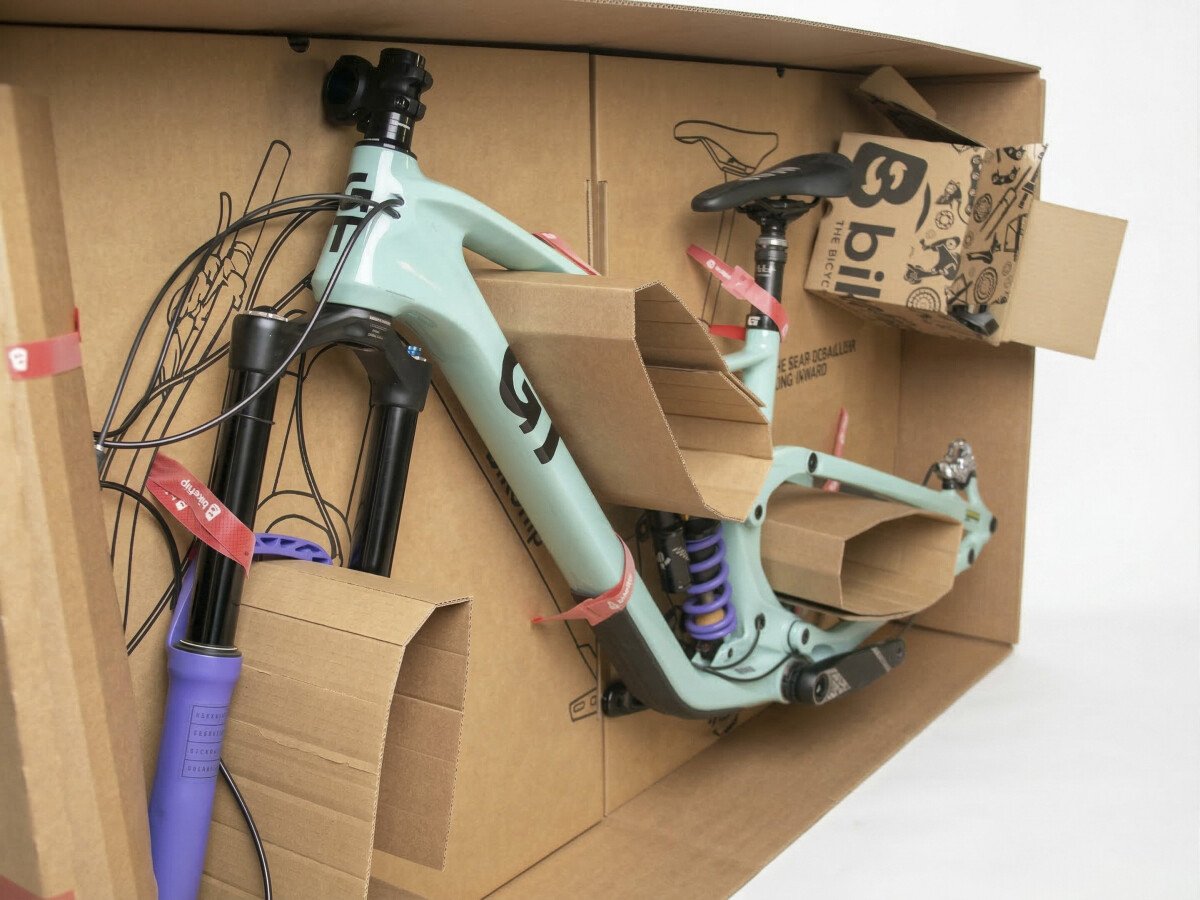
Whatever the reason, the way you pack your bike can determine whether it arrives in perfect condition or with costly damage.
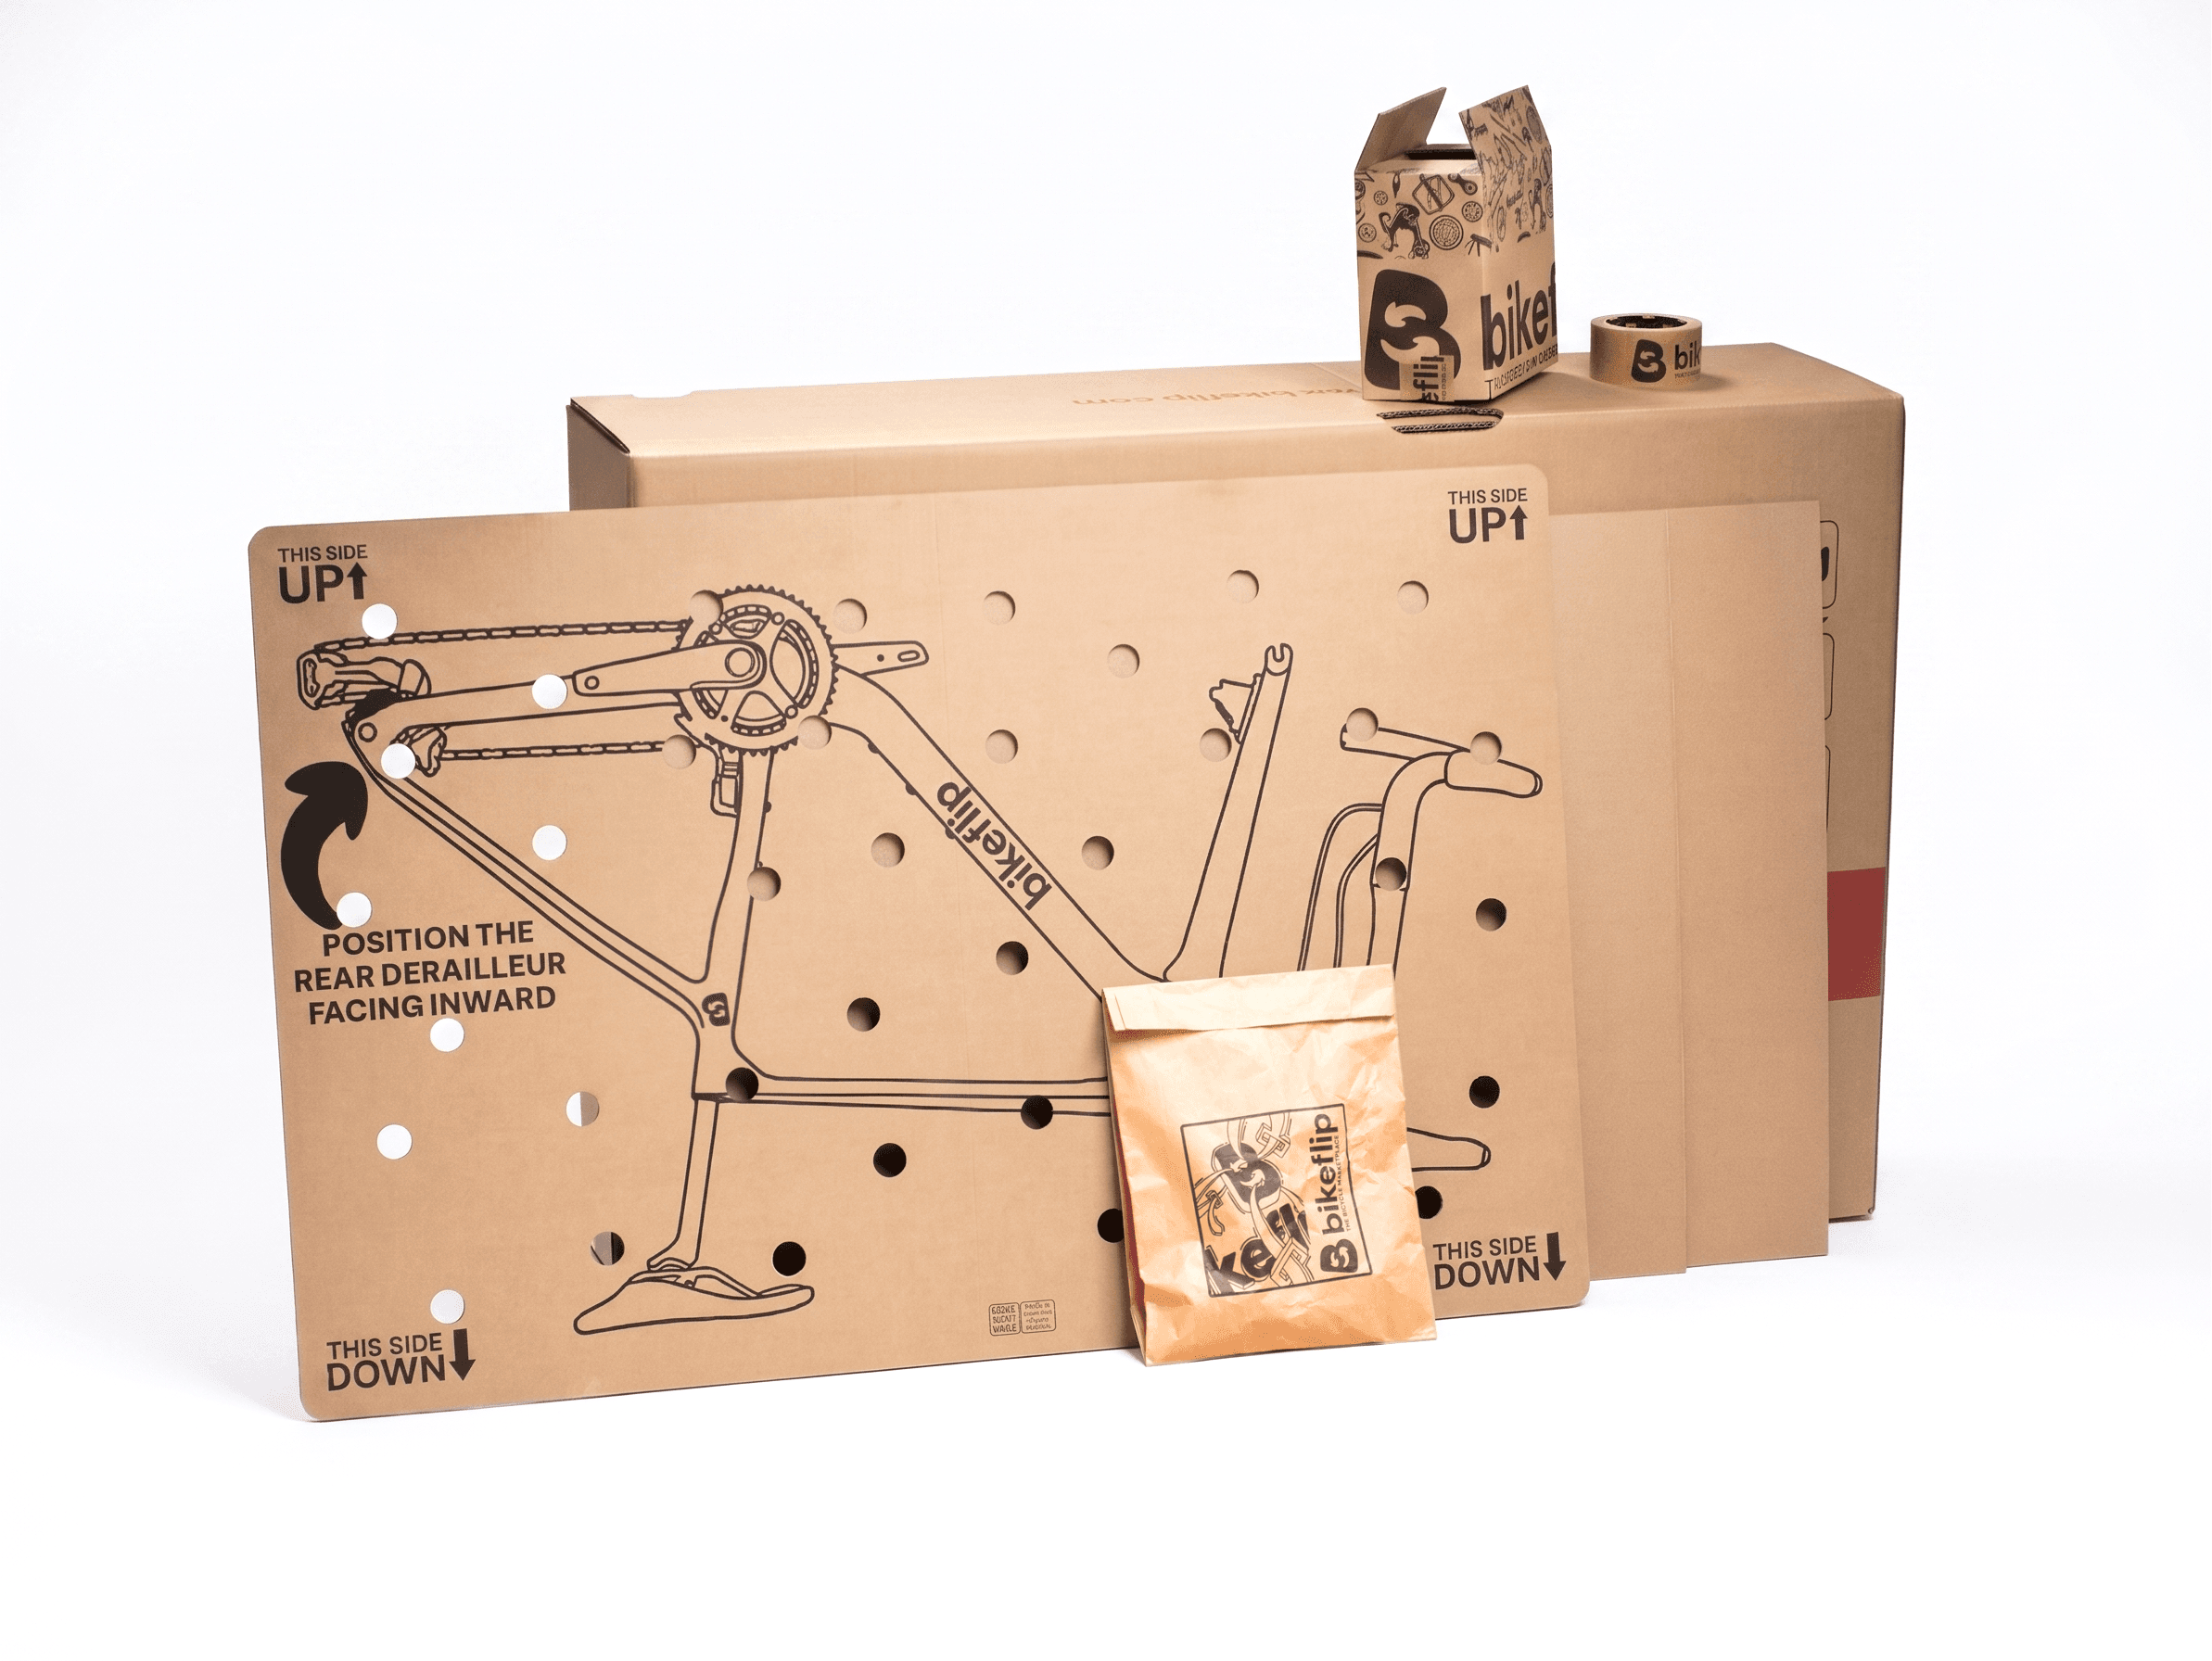
With the Bikeflip Box, everything you need is included in one kit, making the packing process simple, secure, and fast, even if it is your first time.
Prefer watching instead?
If you would rather follow the process step by step, we have created two complete video tutorials showing exactly how to pack your bike with the Bikeflip Box.
What you will need
Before you start, make sure you have:
A Bikeflip Box
A set of Allen keys
Scissors
The Bikeflip packing kit, including:
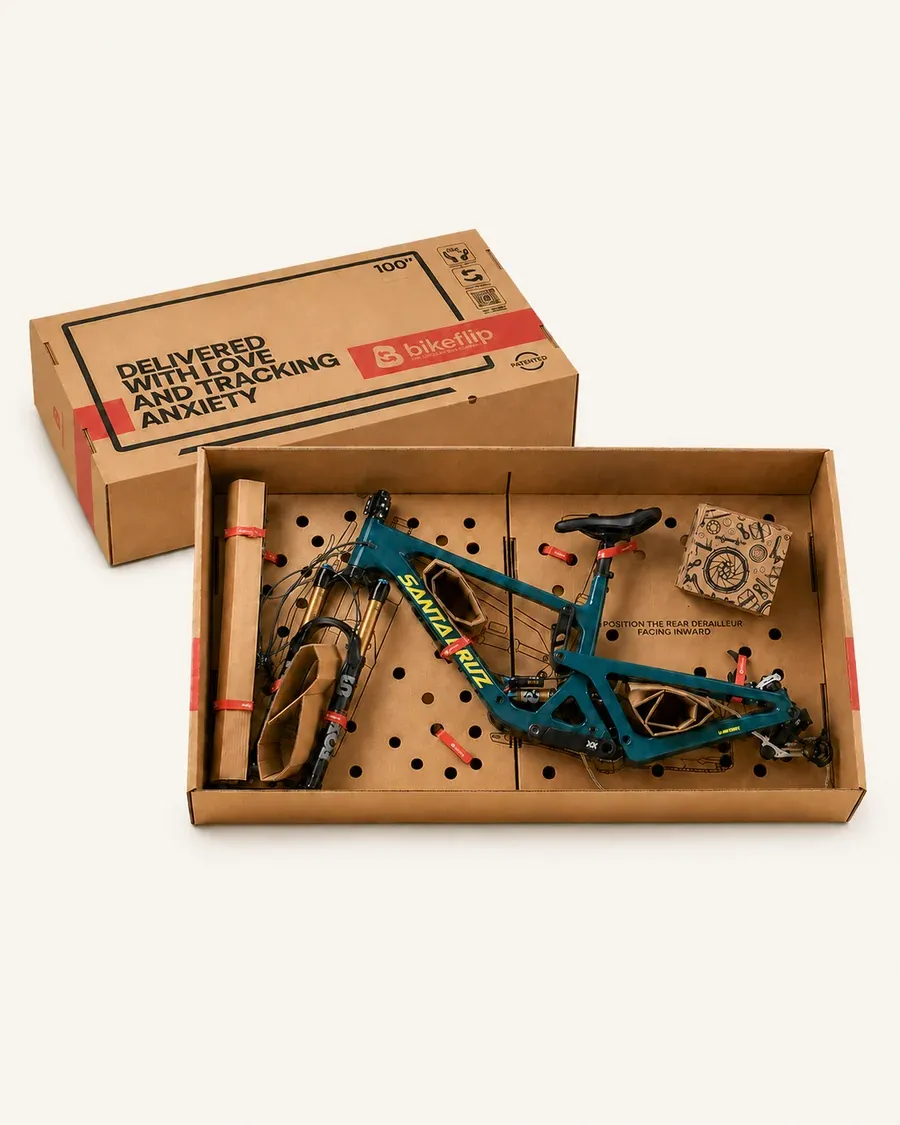
Velcro straps
Reinforced Bikeflip tape
Protective cardboard sheets
Handlebar cover
Wheel supports
Accessory box
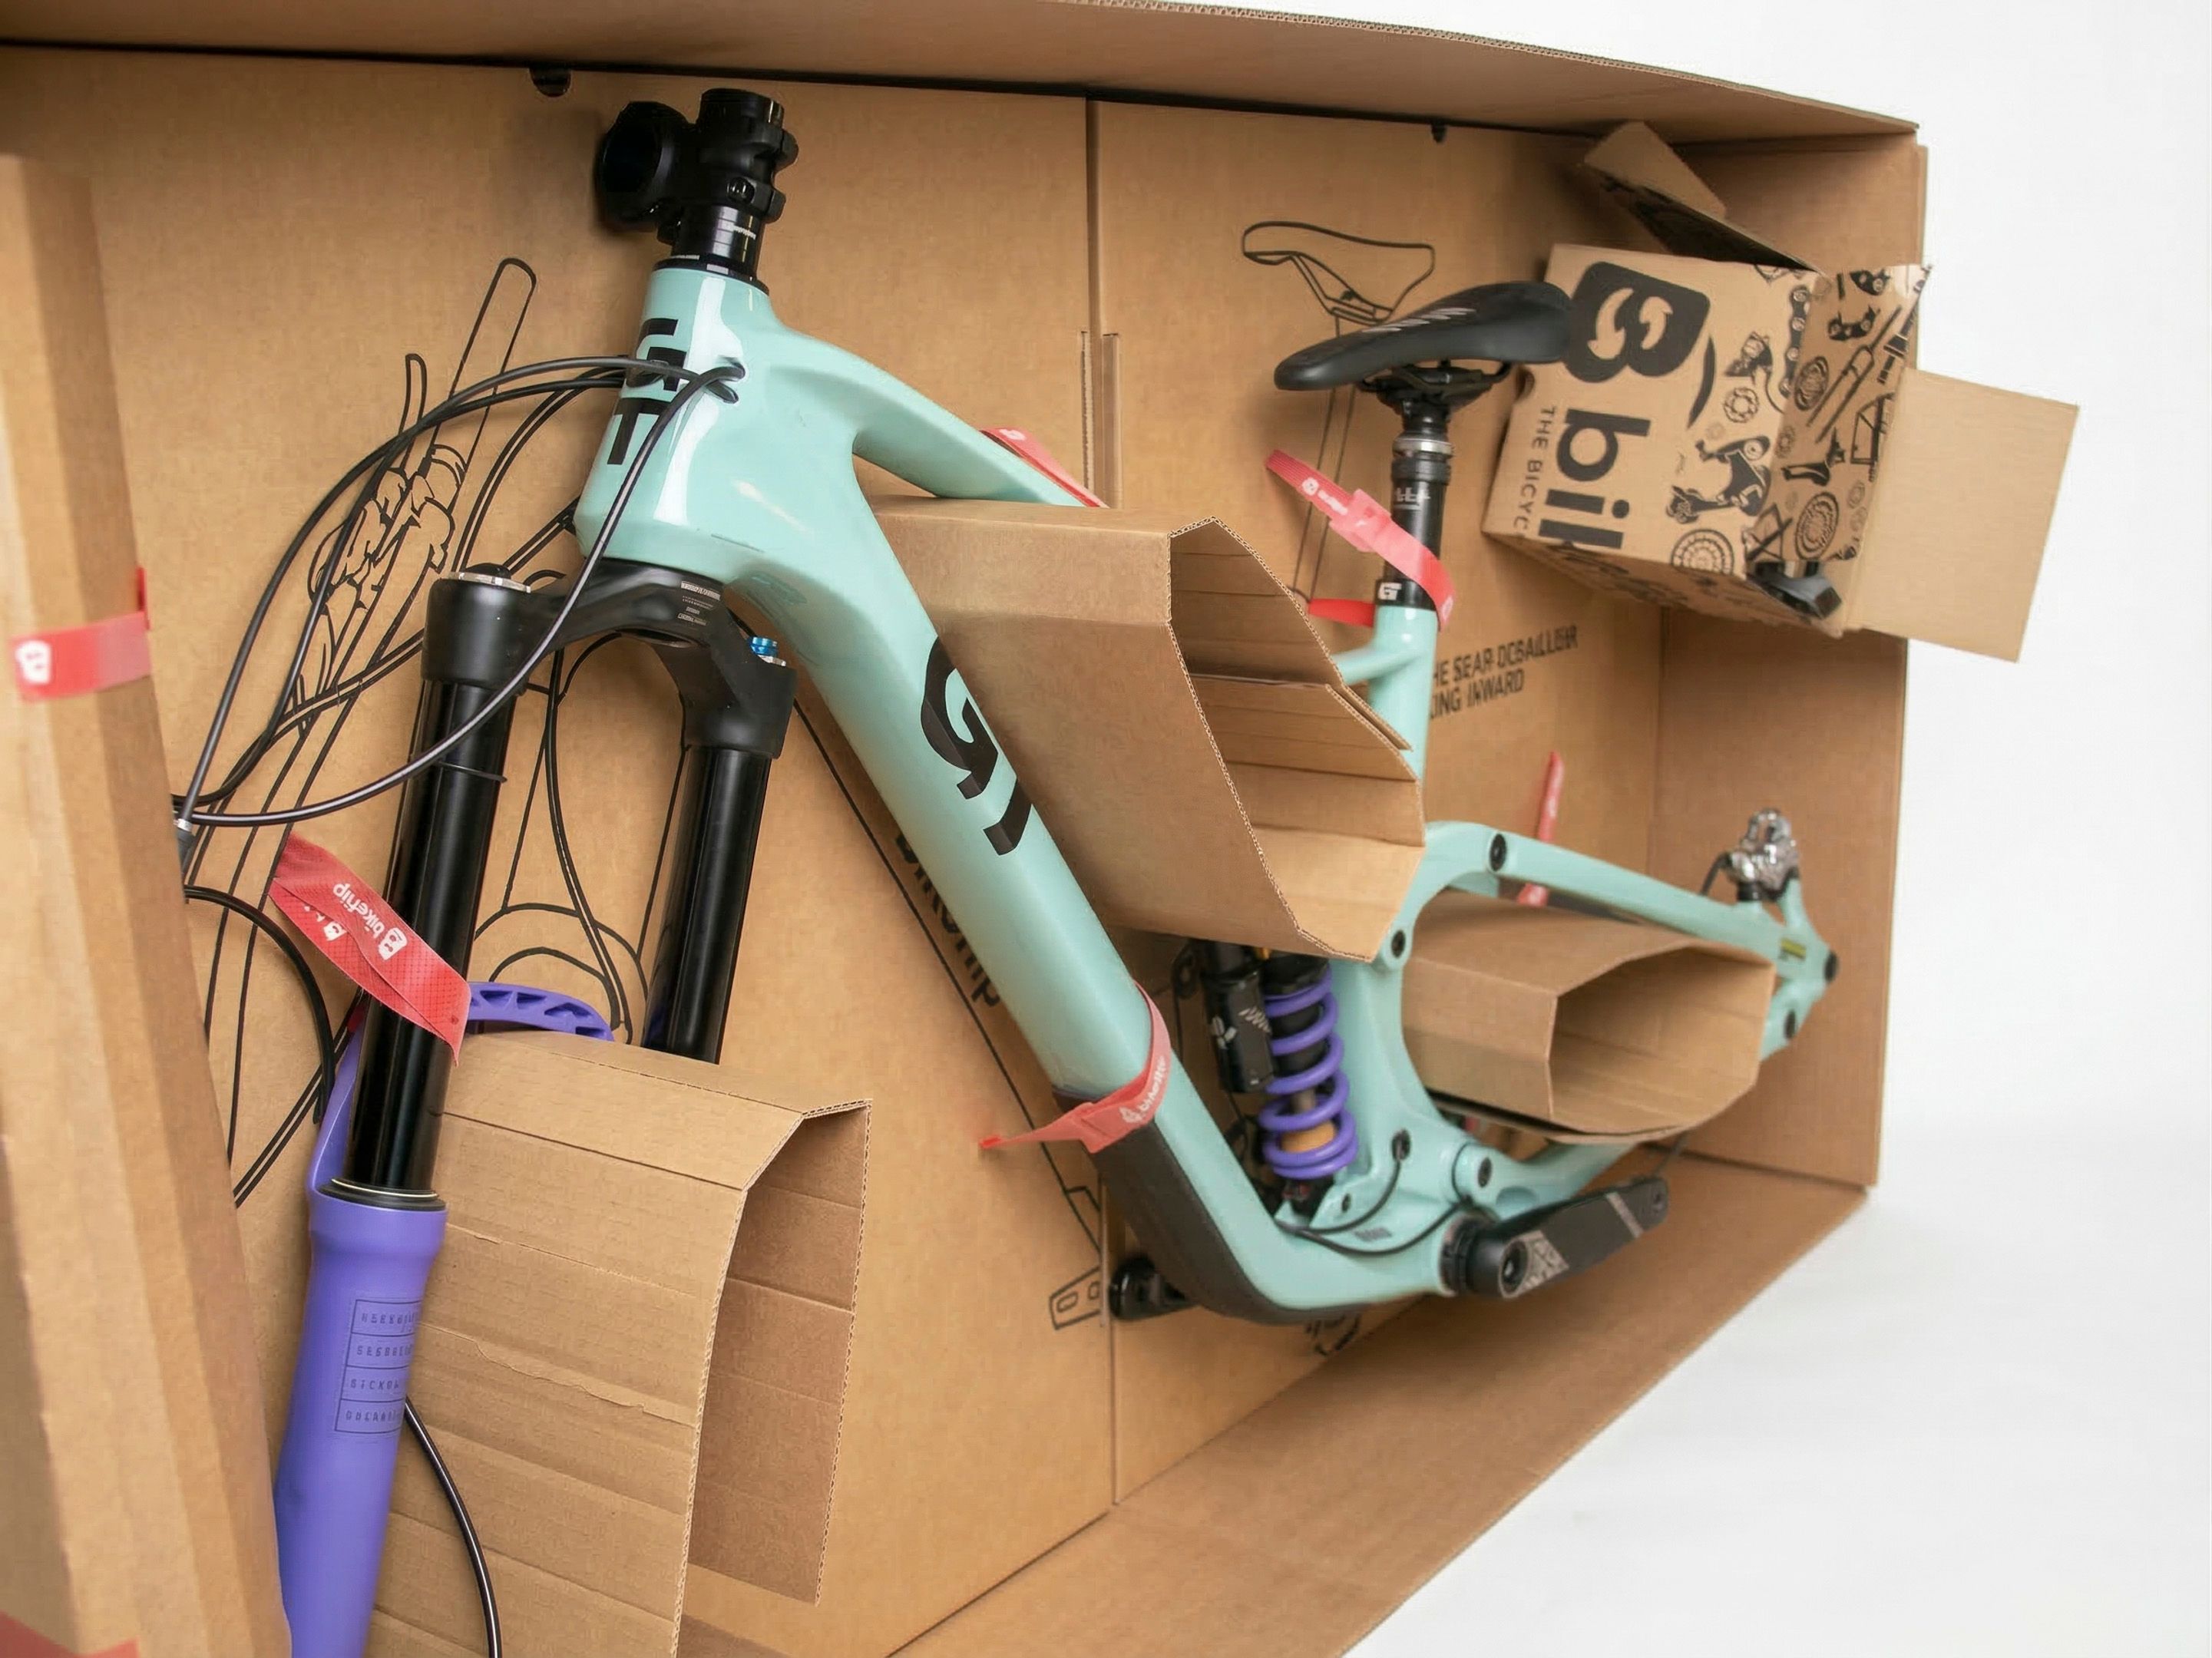
Before packing: take photos
Before disassembling your bike, take a few clear photos. We recommend capturing:
The right side
The left side
The front
The rear
A close up of the drivetrain
A close up of the cockpit
These pictures document the bike's condition before shipping and can be useful later, particularly if you need to file an insurance or damage claim.
Step 1: prepare your bike
Before placing your bike inside the box, you will need to remove or reposition a few components.
Remove the front wheel
Remove the front wheel. Reinstall the thru axle or quick release without tightening it completely, then insert a brake pad spacer.
If you do not have a dedicated spacer, a folded piece of firm cardboard can work as a temporary alternative. The spacer prevents the brake pistons from closing accidentally while the wheel is removed.
Remove the rear wheel
Shift the chain onto the smallest cog before removing the rear wheel. Reinstall the axle loosely and insert a spacer into the rear brake caliper.
If your rear derailleur has a clutch or locking mechanism, activate it to reduce movement and lower the risk of damage.
Protect the brake rotors
Brake rotors can bend relatively easily during transport. Position the wheels so that the rotors face the protective cardboard rather than the outside of the package.
For additional protection, place a rigid cardboard sheet or dedicated rotor protector over each disc before securing the wheels.
Remove the handlebar
Unscrew the stem faceplate and remove the handlebar. Reinstall the stem bolts immediately so that they do not get lost.
Protect the handlebar using the included cover before securing it to the frame. Make sure that brake hoses and gear cables are not twisted, pulled or sharply bent.
Secure the headset
Once the handlebar has been removed, keep the headset spacers correctly positioned around the steerer tube.
Reinstall and gently tighten the top cap so that the fork, spacers and headset bearings remain securely in place. Do not overtighten it. The goal is to prevent movement and protect the headset during transport.
Remove the pedals
Using an Allen key:
The right pedal loosens counterclockwise.
The left pedal loosens clockwise.
Keep both pedals aside and place them in the accessory box later.
Lower the saddle
Loosen the seatpost clamp and lower the saddle as far as it will go.
If the frame size or box dimensions require it, remove the seatpost entirely. This reduces the bike's overall height and prevents the saddle or seatpost from being knocked or bent during transport.
Check electronic shifting batteries
If your bike uses an electronic drivetrain such as Shimano Di2, SRAM eTap or SRAM AXS, battery requirements depend on the transport method.
Bikeflip shipments within Europe travel by road rather than by air. For these shipments, the small batteries used in electronic shifting systems normally do not need to be removed from the package.
Make sure any removable battery is firmly installed, switched off where possible and protected from accidental activation. Different rules may apply to air freight or other shipping providers, so always check the carrier's conditions before shipping independently.
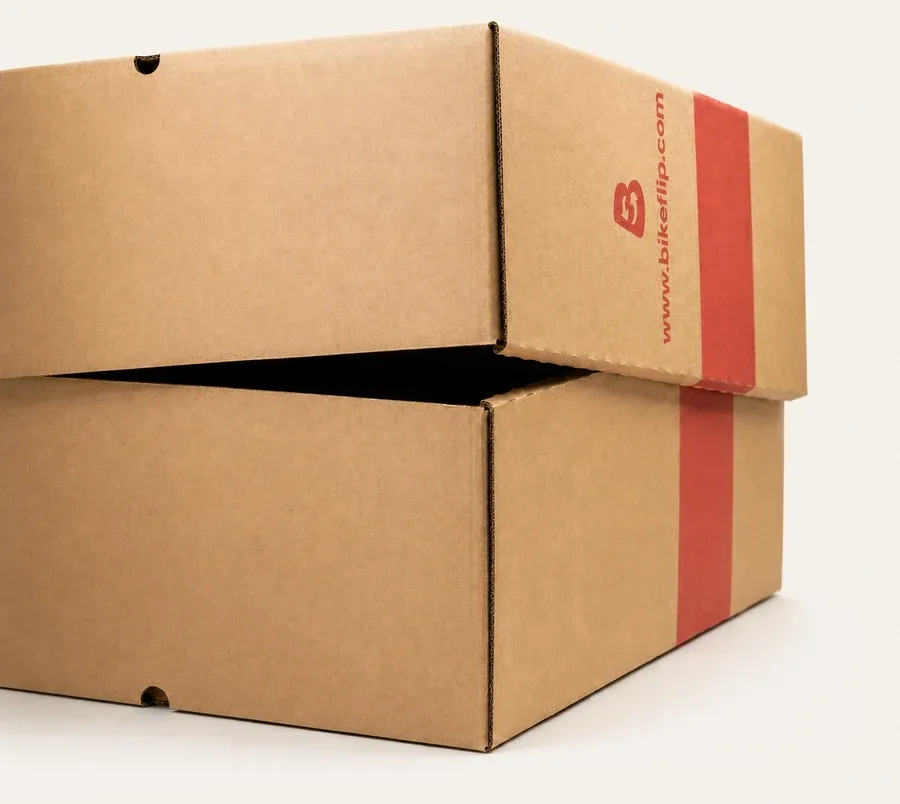
Step 2: assemble the Bikeflip Box
The Bikeflip Box is designed to keep your bike stable throughout transport.
Fold and assemble:
The tray
The lid
The perforated wheel supports
The components lock together without additional tools. Once the box and supports are assembled, you are ready to secure the bike.
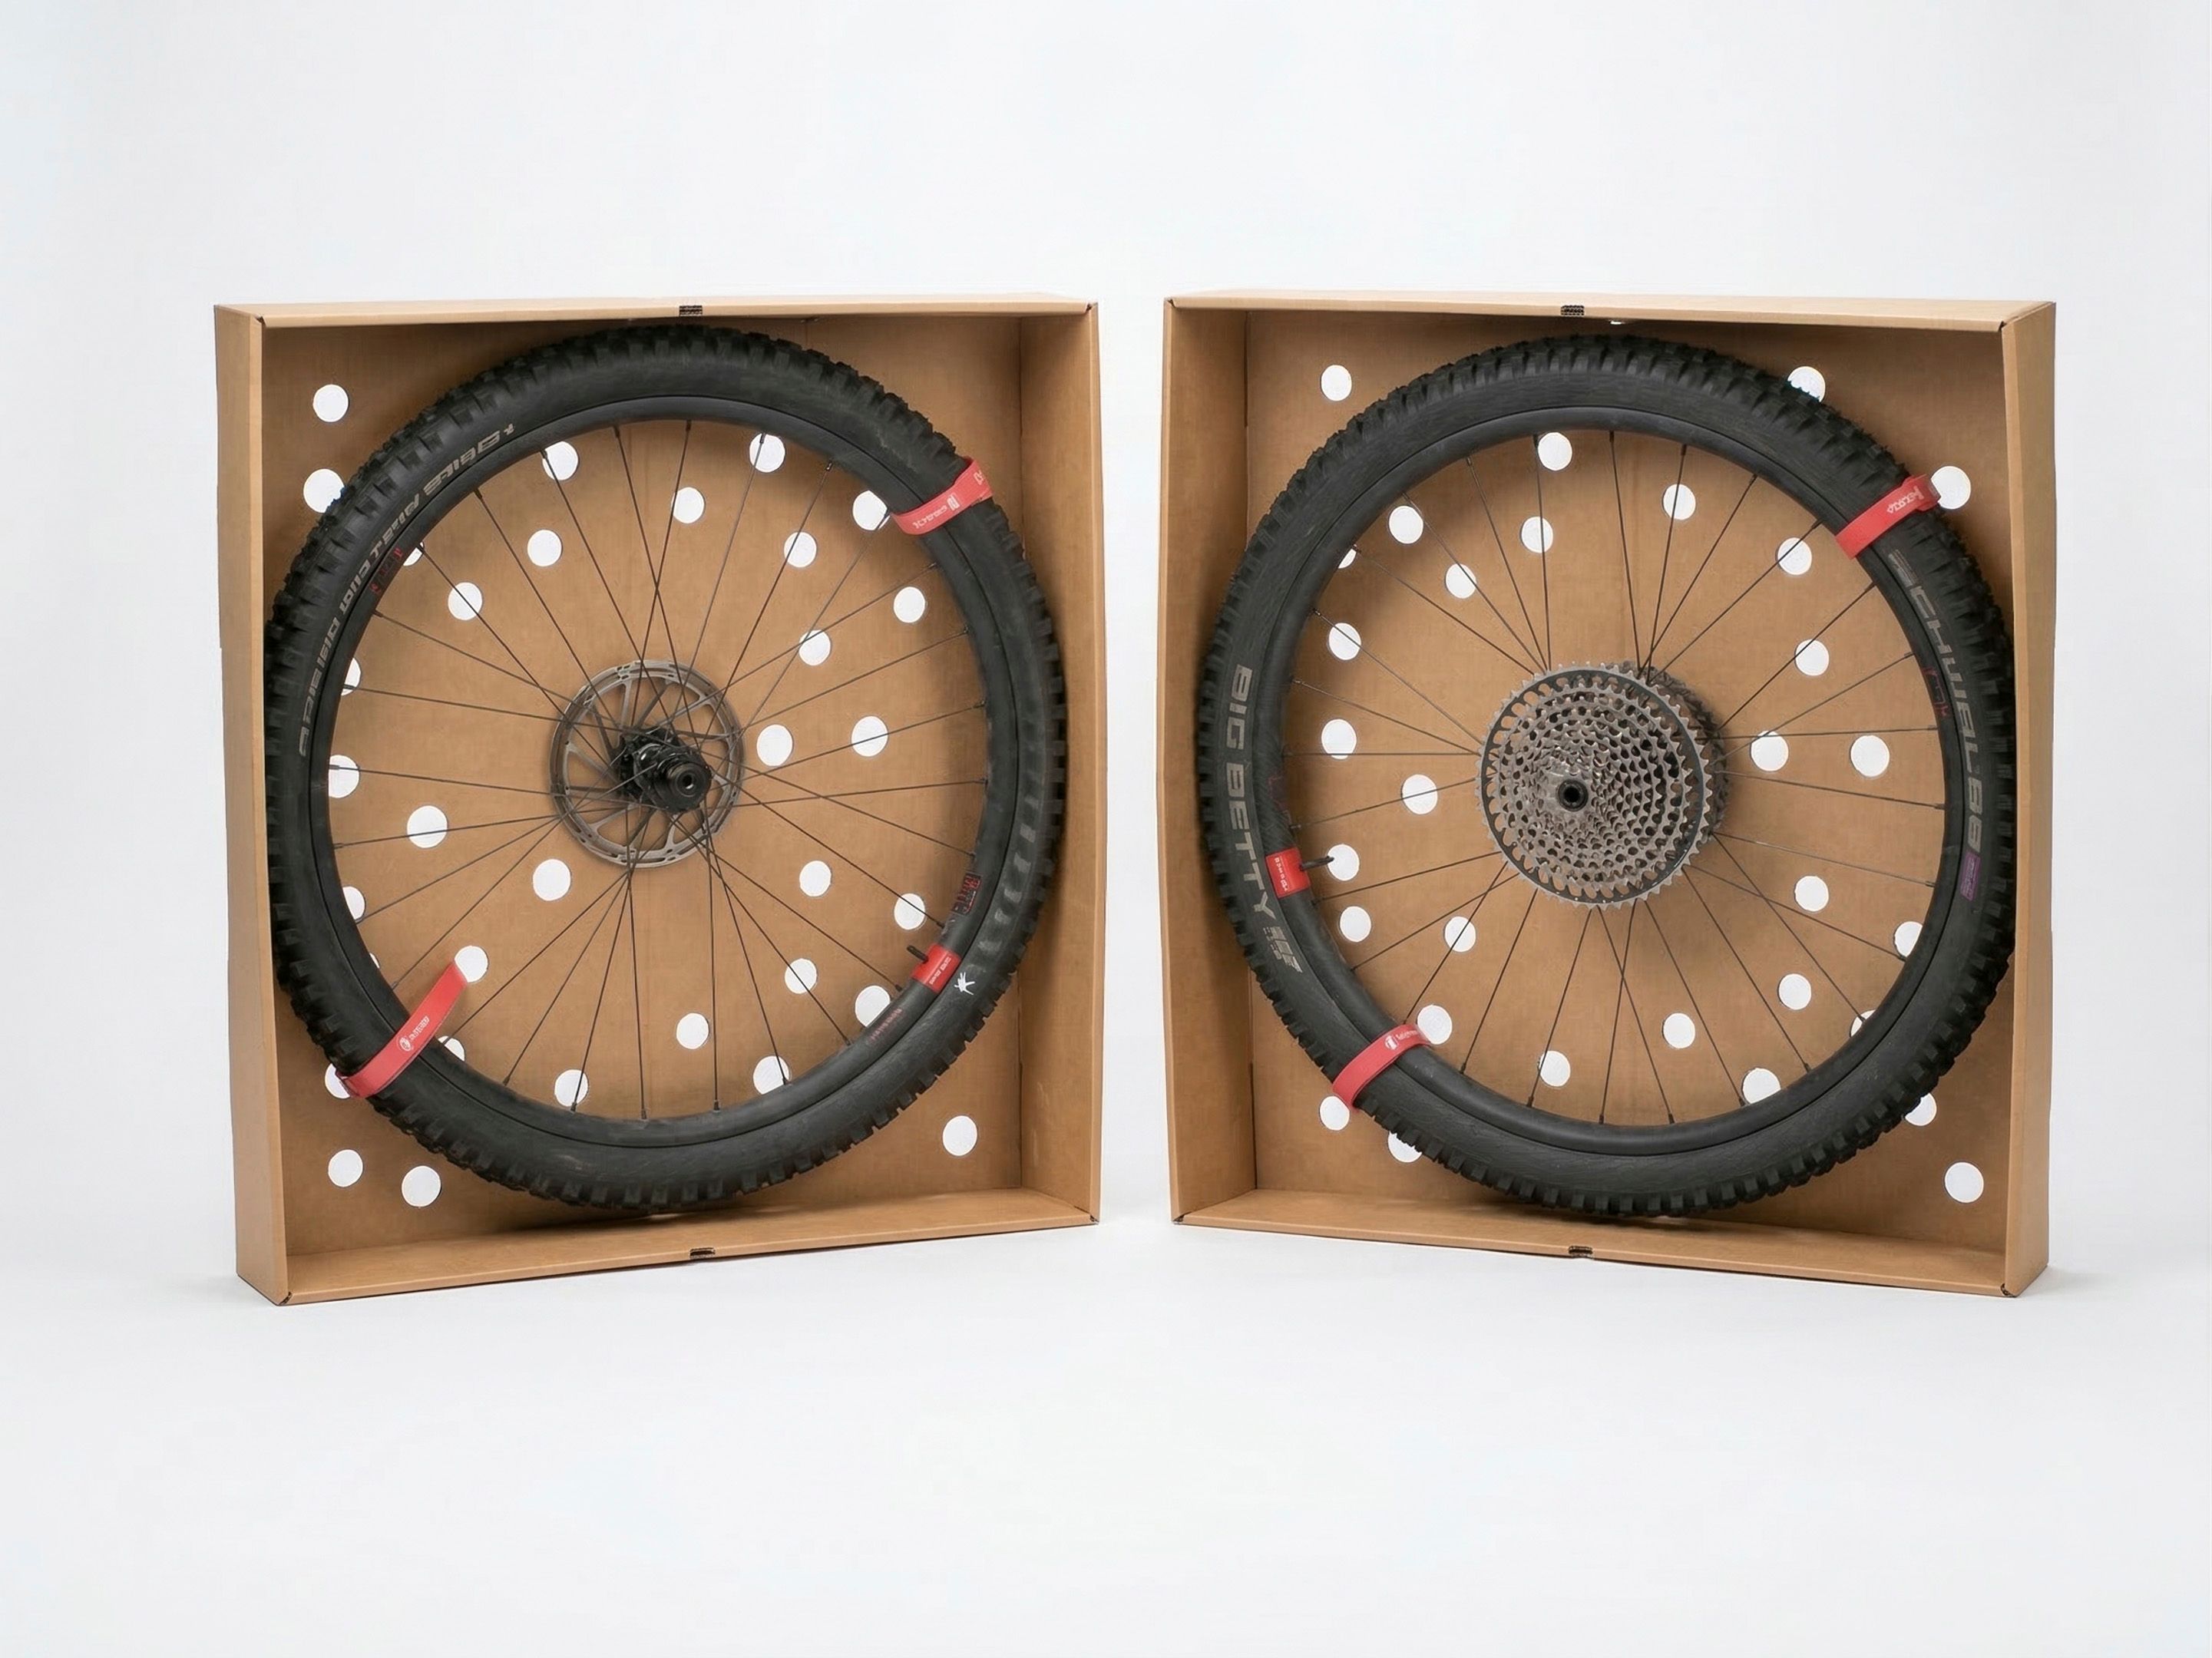
Step 3: secure the wheels
Deflate both tires to approximately one third or one half of their normal riding pressure.
This reduces internal pressure during transport while keeping enough air in the tire to prevent it from slipping off the rim.
Place each wheel inside its dedicated support, with the brake rotor facing the protective cardboard. Secure both wheels using the supplied Velcro straps so that they cannot move during transport.
Check that the rotors, cassette and axle ends cannot make direct contact with the bike frame or the external walls of the box.
Step 4: secure the frame
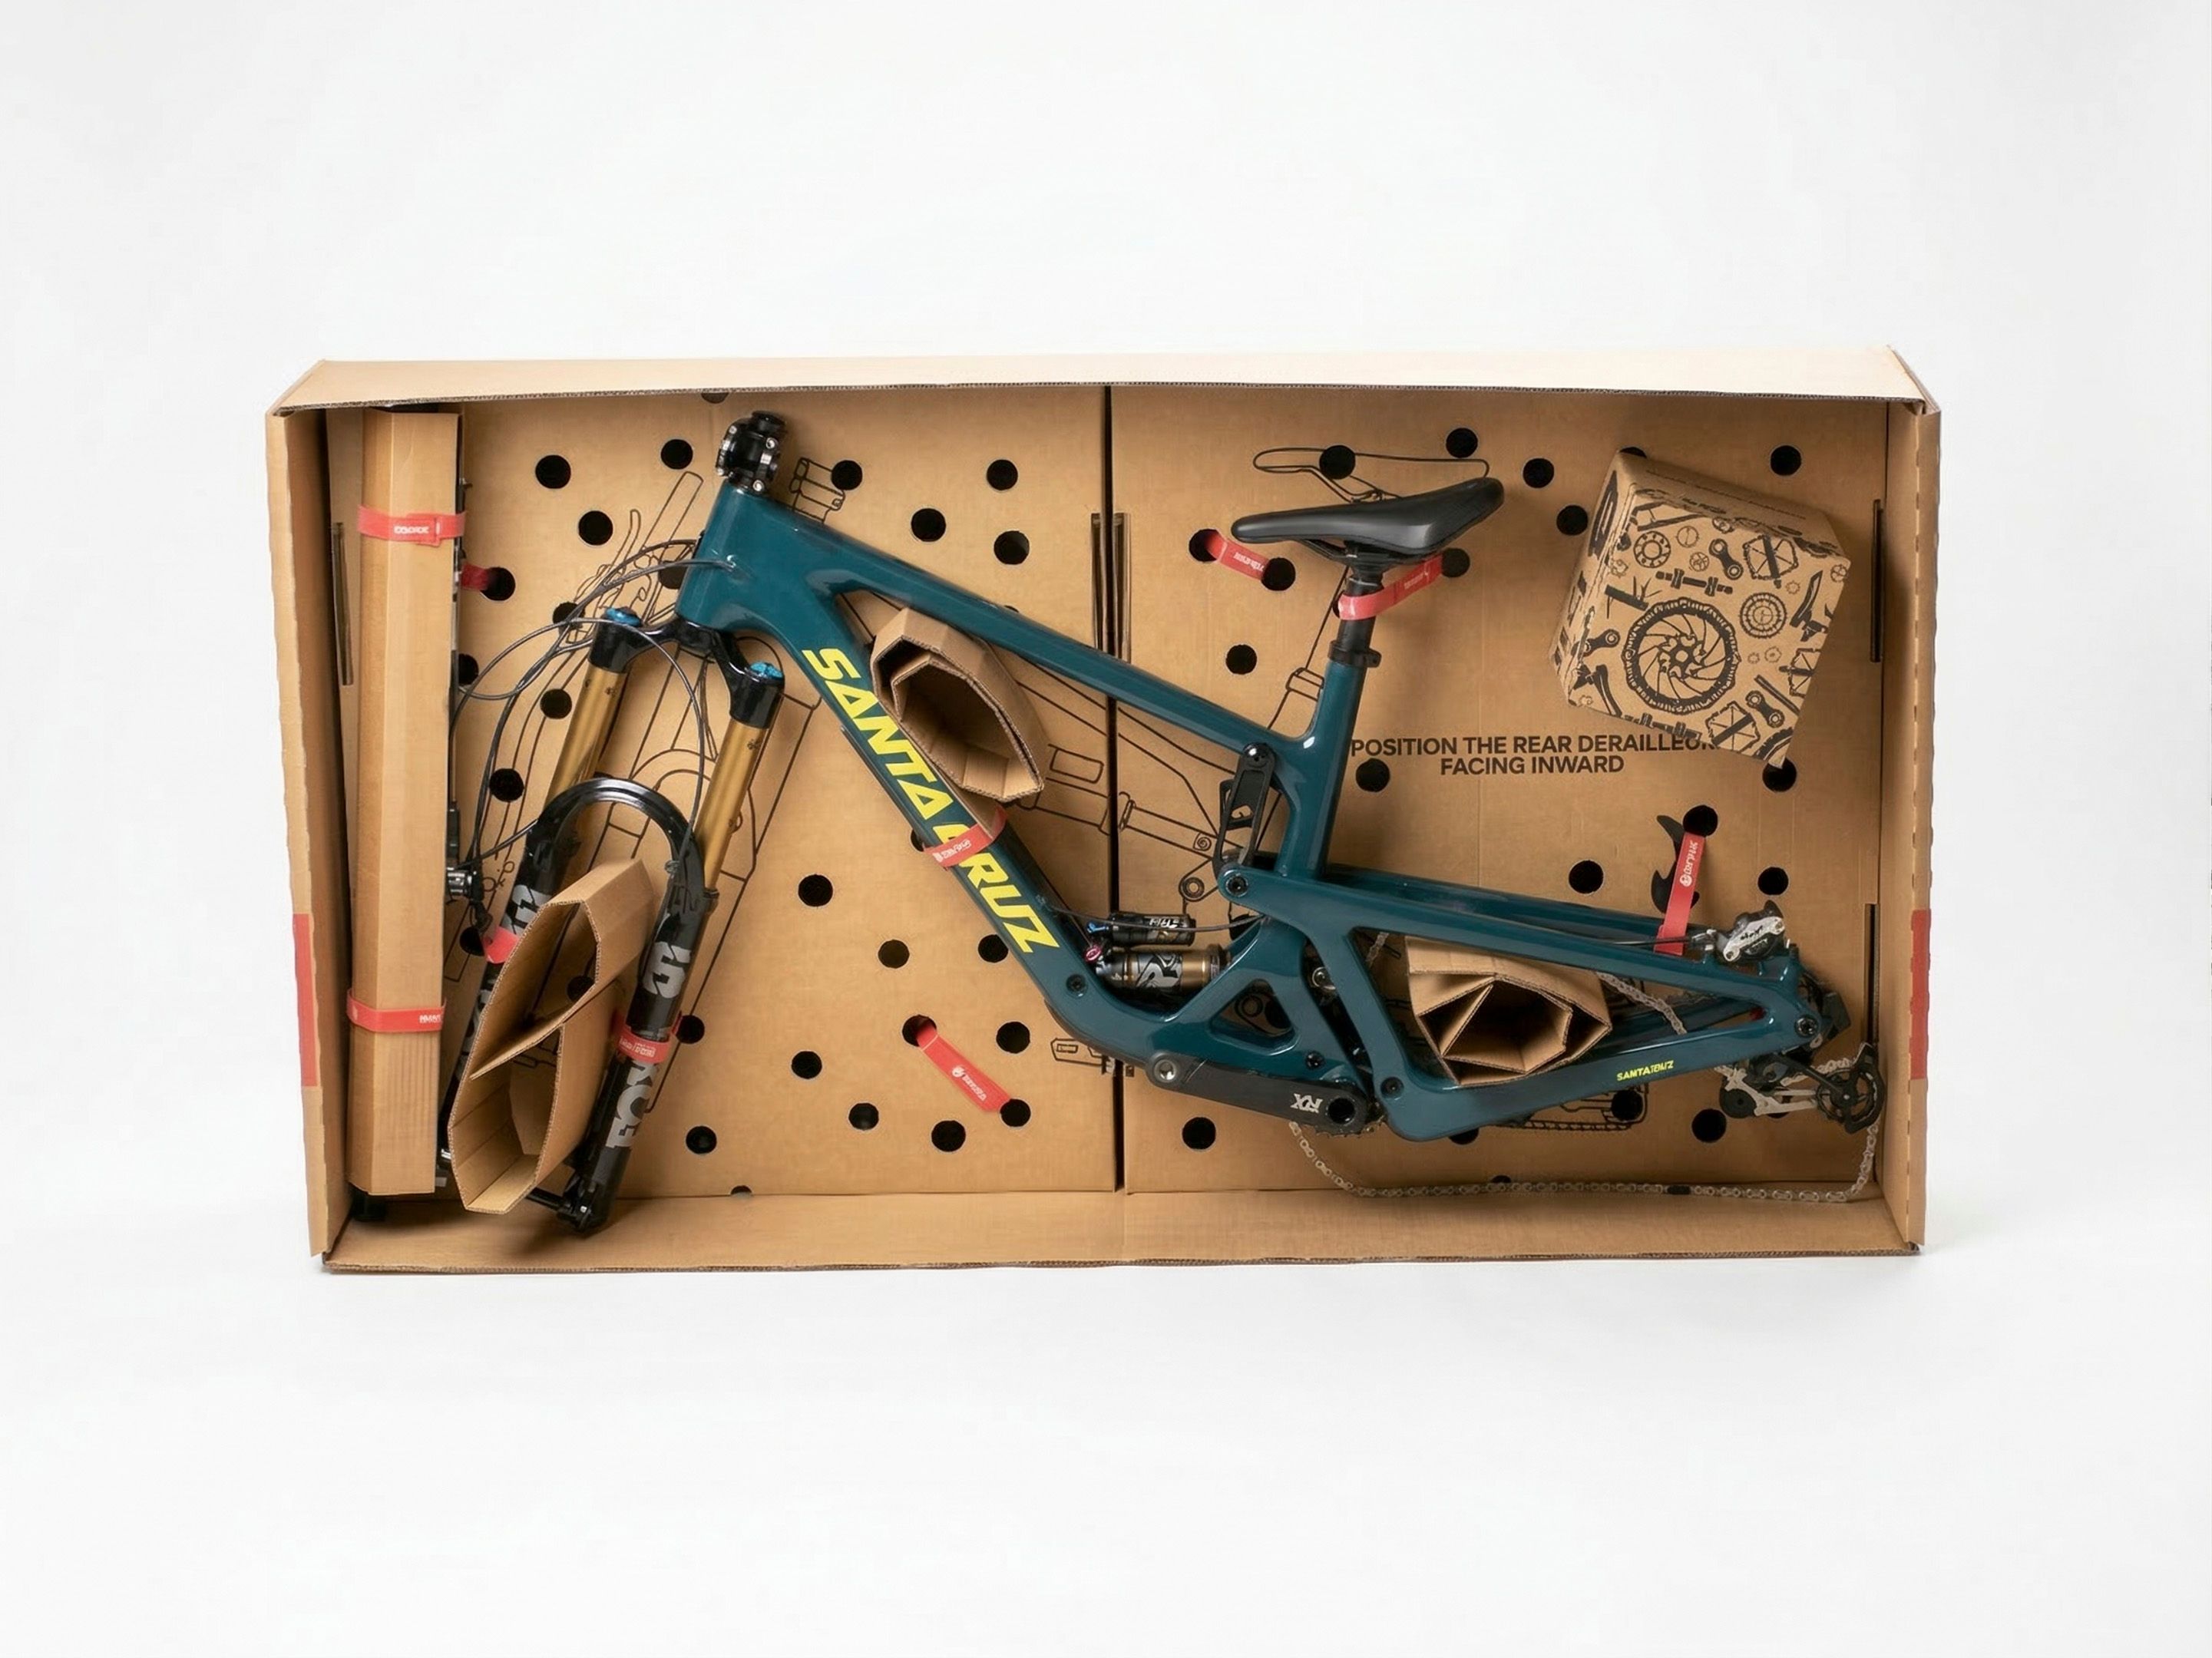
Place the bike frame on the perforated support.
Make sure the rear derailleur faces inward, away from the outer wall of the box. The derailleur is one of the most common points of impact damage, so double check its position before continuing.
Use the Velcro straps to secure the frame firmly. Your bike should not move forwards, backwards or sideways.
Perform a simple test by holding the frame and shaking it gently. If anything moves, reposition the bike or tighten the straps before continuing.
Step 5: protect the most delicate areas
Use the included protective cardboard sheets to cover areas such as:
The fork
The frame tubes
The seat stays
The chain stays
The rear derailleur
The brake rotors
Any contact point between components
These extra protective layers help absorb impacts and prevent components from scratching or pressing against one another during transport.
Step 6: pack accessories
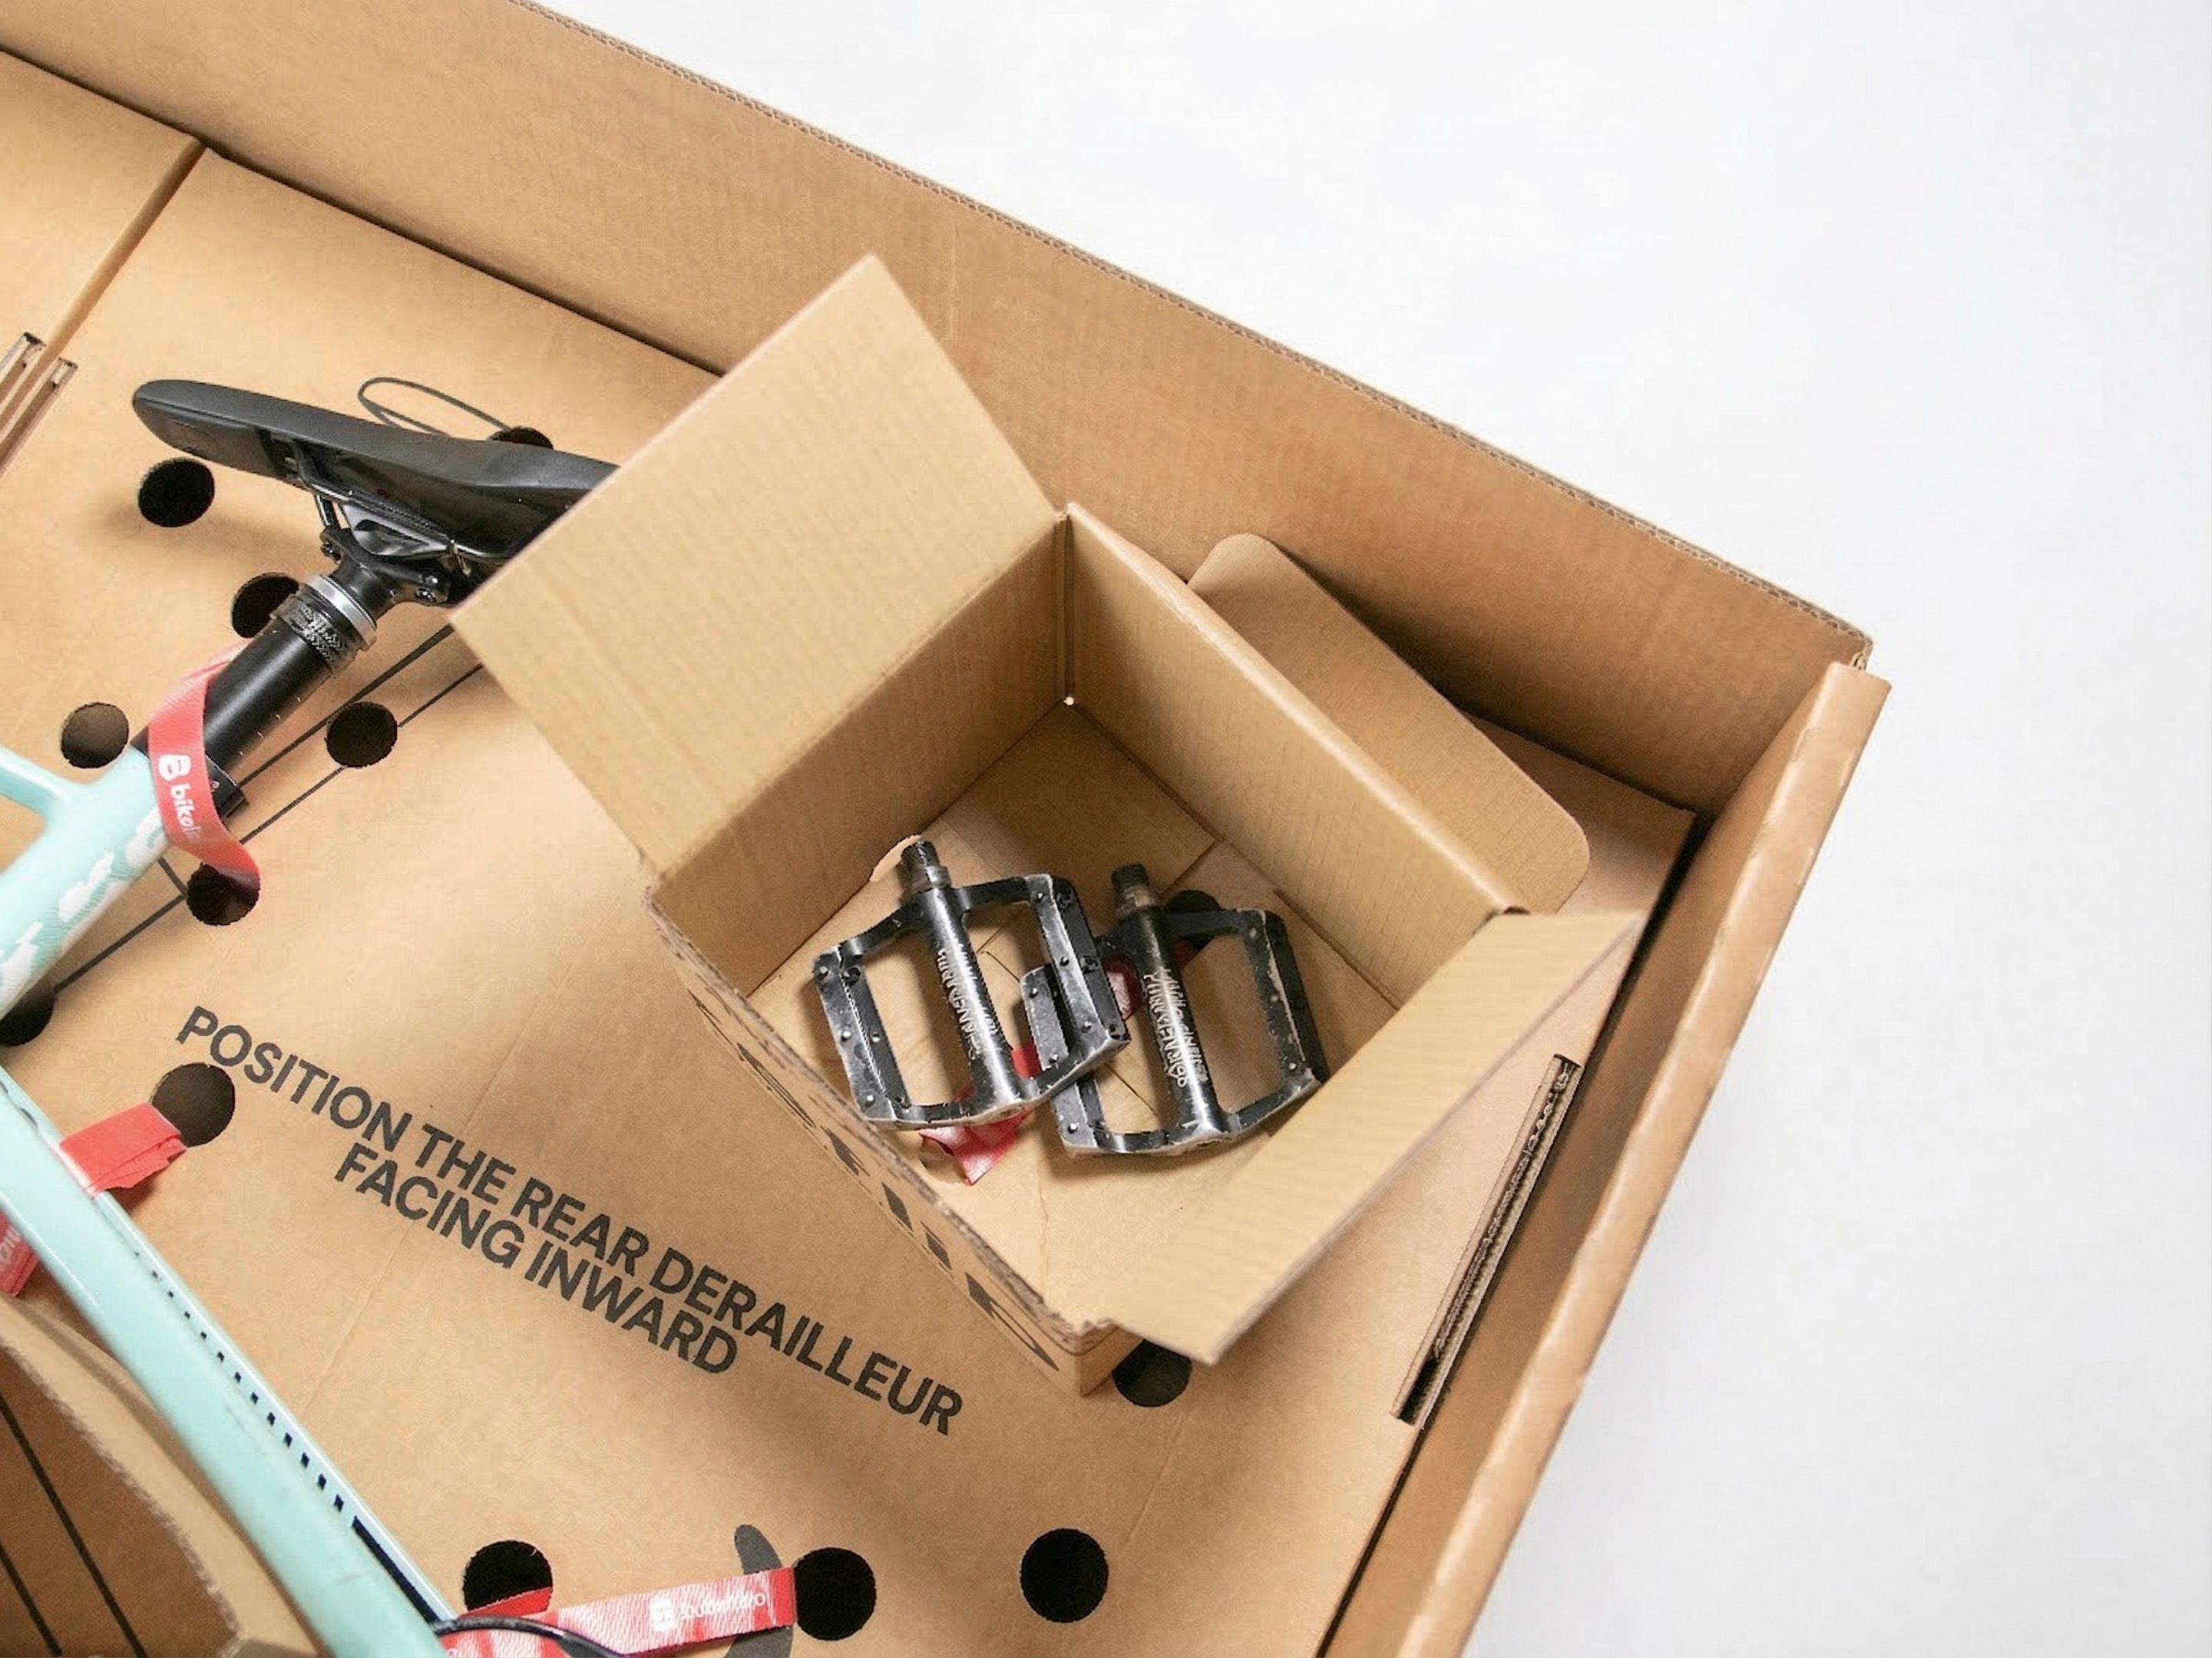
Place the pedals, saddle or seatpost if removed, small parts and additional accessories inside the dedicated accessory box.
Secure the accessory box to the support using the provided mounting points or position it firmly inside the package.
Nothing should be able to move freely inside the box. Loose pedals, tools and accessories can scratch the frame or damage components during transport.
Step 7: close and seal the box
Place the lid on top of the box.
Seal every opening using the reinforced Bikeflip tape included in the kit. Cover each seam at least twice to make sure the box remains securely closed throughout the journey.
Clearly attach the shipping label and remove or cover any old labels or barcodes.
Mark the box as fragile and, if your bike has a clear top and bottom orientation, add "This way up" arrows.
If you are shipping through Bikeflip, insured transport is available and is particularly recommended for higher value bikes.
Your bike is now ready to travel safely.
Common mistakes when packing a bike
Even a well packed bike can be damaged if a few important details are overlooked. Before closing the box, check that you have not made any of these common mistakes:
Forgetting to insert brake pad spacers
Leaving the rear derailleur exposed or facing the outside of the box
Leaving brake rotors unprotected
Allowing the headset spacers or fork to move freely
Failing to tighten the Velcro straps sufficiently
Shipping the bike with fully inflated tires
Leaving loose accessories inside the package
Using too little packing tape
Forgetting to lower or remove the saddle
Twisting brake hoses or electronic cables around the handlebar
Taking a few extra minutes before closing the box can prevent costly damage later.
Why use the Bikeflip Box?
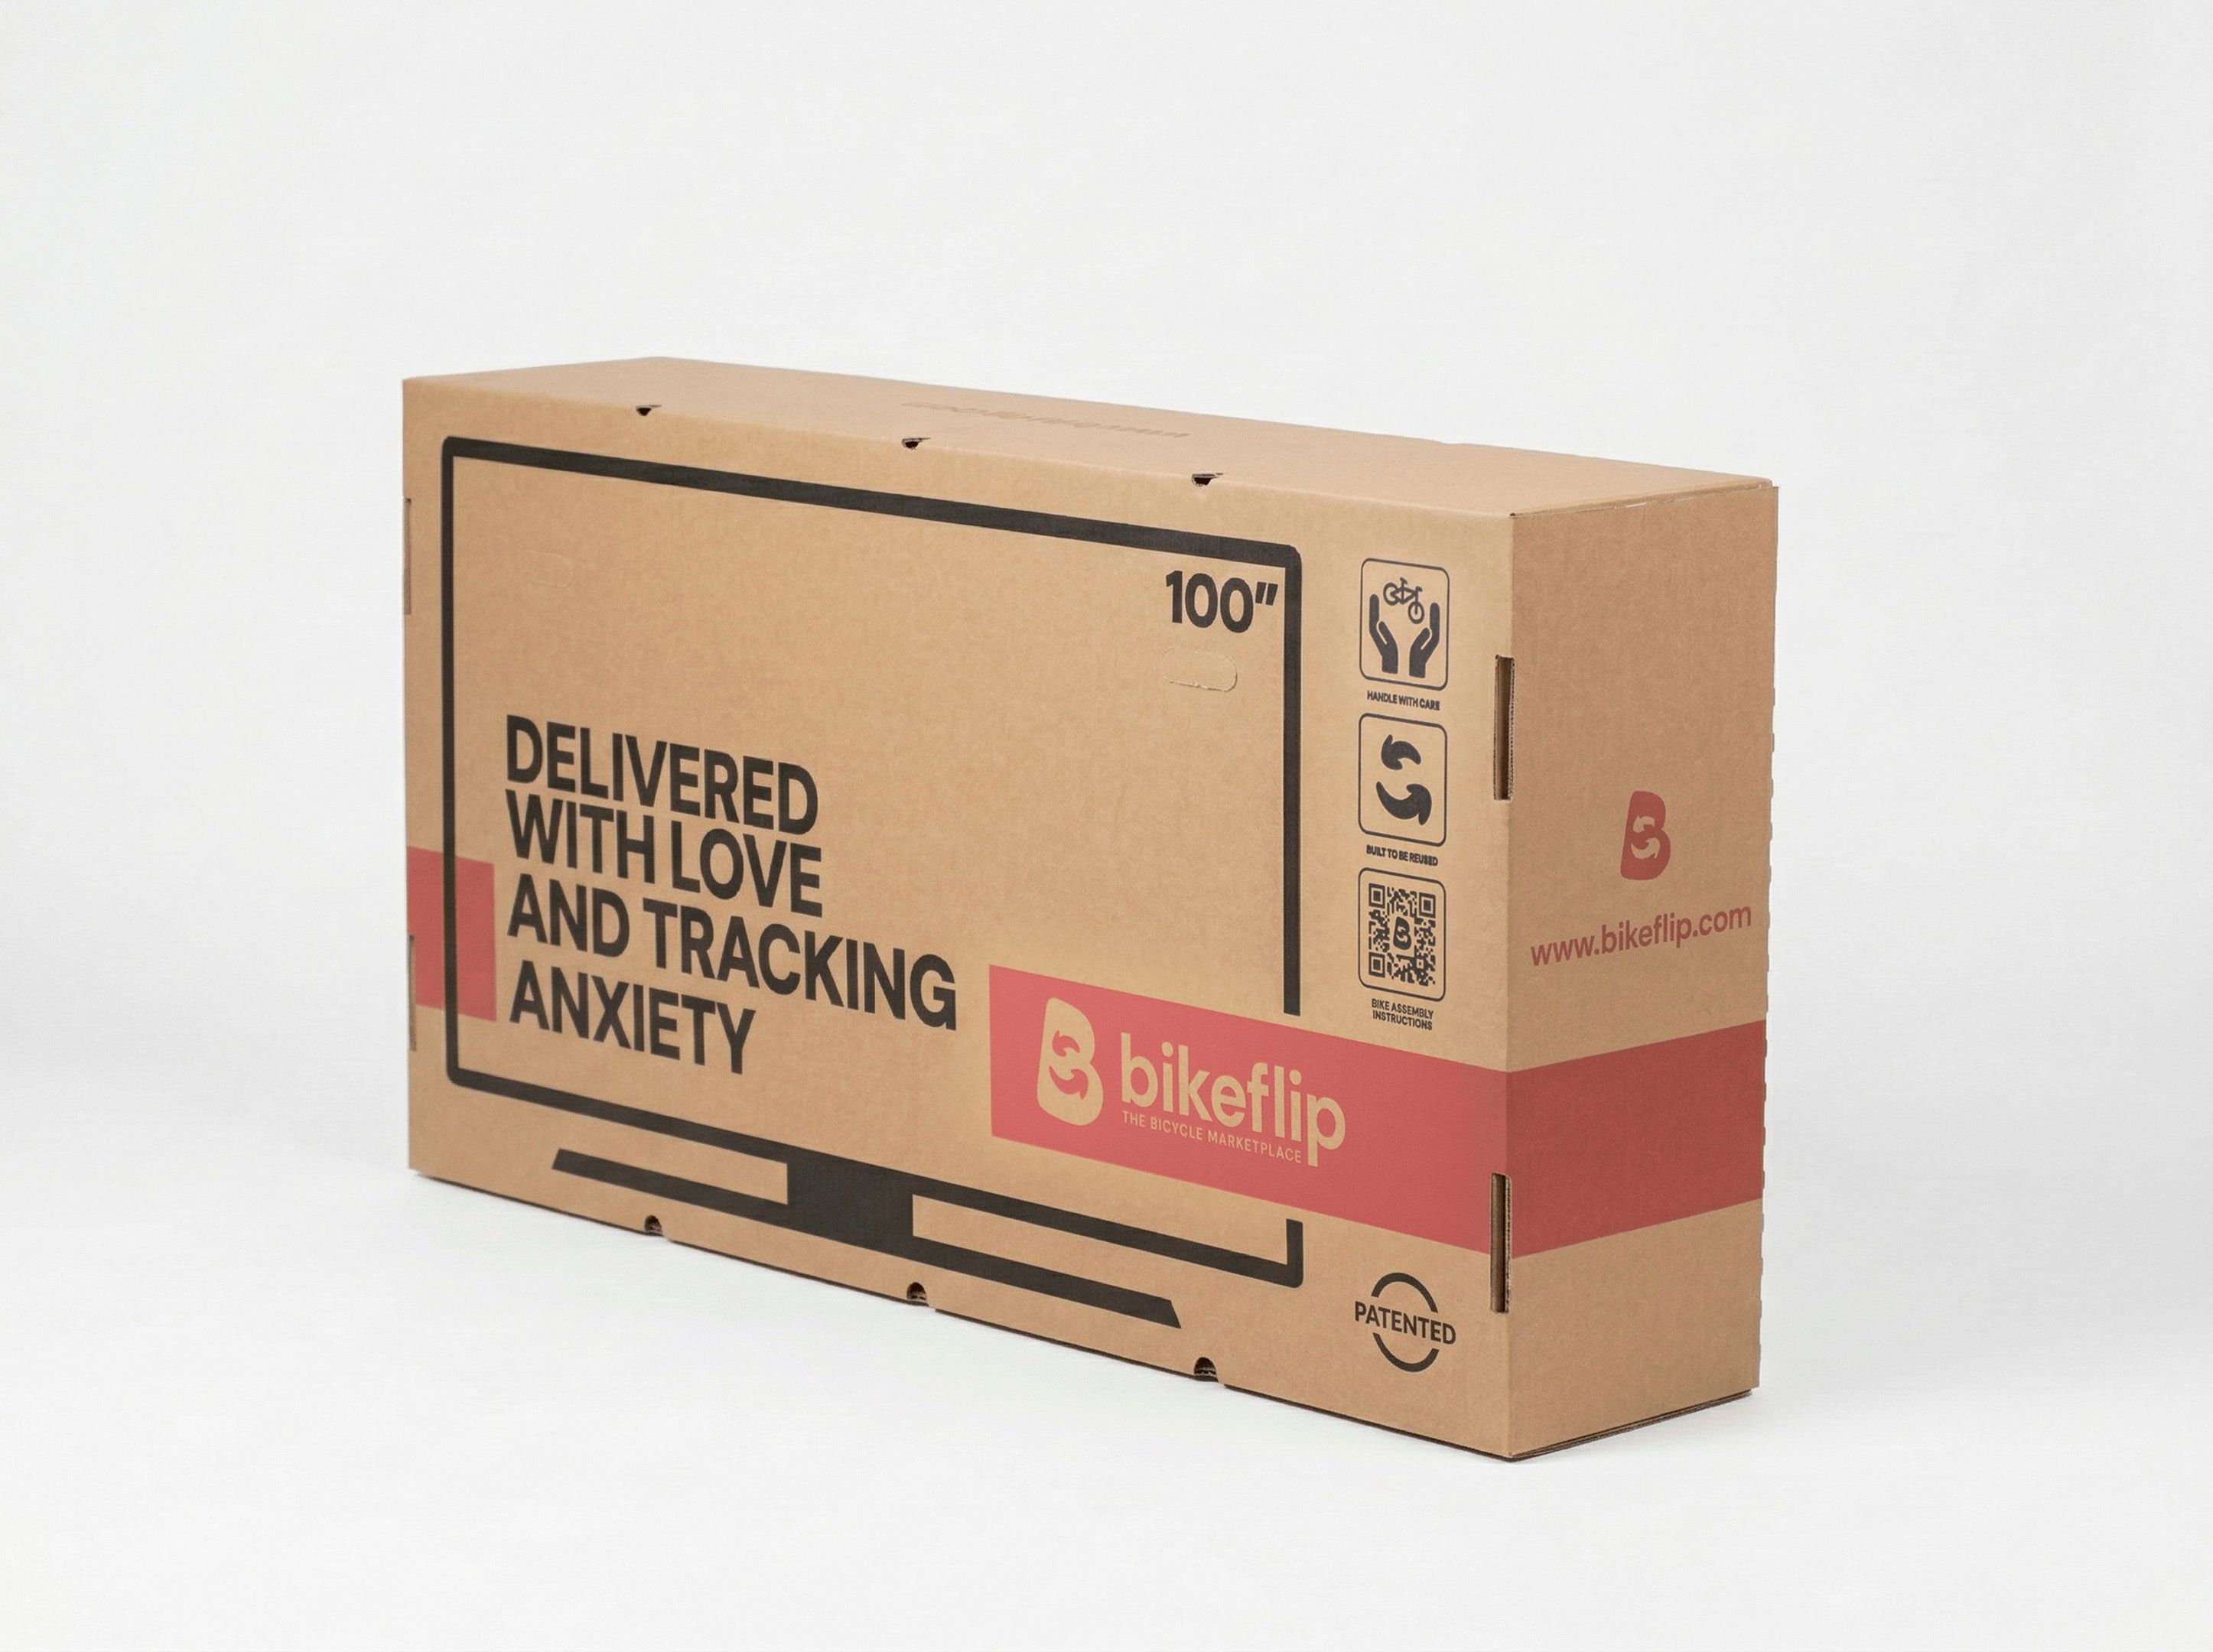
Unlike a standard cardboard box, the Bikeflip Box is designed specifically for bicycle shipping.
It includes dedicated supports, reusable fastening systems and protective elements that keep the frame, wheels and components stable throughout transport.
A standard cardboard box often requires improvised padding and does not prevent the bike from moving internally. The Bikeflip system gives each component a defined position, reducing the risk of impacts between the frame, wheels and accessories.
If kept in good condition, the Bikeflip Box can also be reused for future shipments.
Whether you are selling a bike, moving to another city or sending it across the country, it offers a safer and more convenient packing solution.
Order a Bikeflip Box and pack your bike exactly as our shipping experts recommend.
Choosing the right bike packaging
The best packaging option depends on how you are transporting your bike, how much protection you need, and whether you plan to reuse the packaging.
Packaging option | Best for | Protection level | Main advantages |
|---|---|---|---|
Travelling with your bike and transporting it between destinations | Medium | Lightweight, foldable, reusable, water repellent and easy to carry | |
Shipping valuable bikes and frequent shipments | Very high | Reinforced construction, dedicated bike supports, protective accessories and reusable fastening systems | |
Selling a bike or arranging a one way shipment | High | Purpose built for bicycles, secure internal supports and all essential packing materials included |
A soft travel cover is convenient when you need something compact and easy to carry. For courier transport, however, a rigid box provides greater protection against impacts, compression and movement inside the package.
The Bikeflip Box Pro offers the highest level of protection, while the standard Bikeflip Box provides a secure and more accessible solution for most bicycle shipments.
Trusted by thousands of cyclists
Bikeflip has already helped thousands of cyclists sell and ship their bikes safely across Europe. Sellers particularly appreciate the simplicity of the process, the secure payments and the support provided throughout the transaction: Trustpilot reviews
Trustpilot rating: 4.7 out of 5, based on more than 1,200 reviews.
"Everything worked as a charm. We are very satisfied with the whole process." — Joakim
"Our bike was sold from Austria to Italy, and the entire transaction went perfectly smoothly." — Saniya
"A simple and effective way to sell my bike, reach a wide audience and keep costs under control." — John
Selling your bike?
If you are packing your bike because you have sold it, Bikeflip makes the entire process easier.
From secure payments to insured shipping support, every step is designed to help buyers and sellers complete transactions with confidence.
Sell your used bike on Bikeflip and let us take care of the shipping.
Frequently asked questions
Do I need to remove both wheels?
Yes. Removing both wheels allows the bike to fit securely inside the Bikeflip Box and makes it easier to prevent movement and impact damage.
Should I deflate the tires?
Yes. Reduce the pressure to approximately one third or one half of the normal riding pressure. There should still be enough air inside the tire to keep it seated correctly on the rim.
How should I protect the brake rotors?
Position each rotor towards the protective cardboard and away from the bike frame. For additional protection, use a rigid cardboard sheet or a dedicated brake rotor protector.
Do I need to remove electronic shifting batteries?
For Bikeflip shipments travelling by road within Europe, the small batteries used by systems such as Di2, eTap and AXS normally do not need to be removed. Rules may differ for air transport and other shipping providers, so always check the carrier's conditions.
Can I leave accessories on the bike?
Small accessories should be removed and placed inside the accessory box to prevent them from coming loose or damaging the frame.
Is the Bikeflip Box reusable?
Yes. If kept dry and in good condition, it can be reused for future shipments.
How long does it take to pack a bike?
Most people can pack a bike in approximately 20 to 30 minutes, even on their first attempt. Taking a little longer to check the derailleur, rotors, headset and fastening straps is always worthwhile.
Ready to pack your bike?
Order your Bikeflip Box, then follow the complete video tutorial for your bike type:
Final thoughts
Packing a bike properly is one of the most important steps before shipping it.
With the Bikeflip Box, the process becomes quicker, safer and easier thanks to dedicated supports, protective materials and a design created specifically for bicycles.
Whether you are selling your bike, moving abroad or sending it to your next cycling destination, packing it correctly means it can arrive safely and be ready for the next ride.